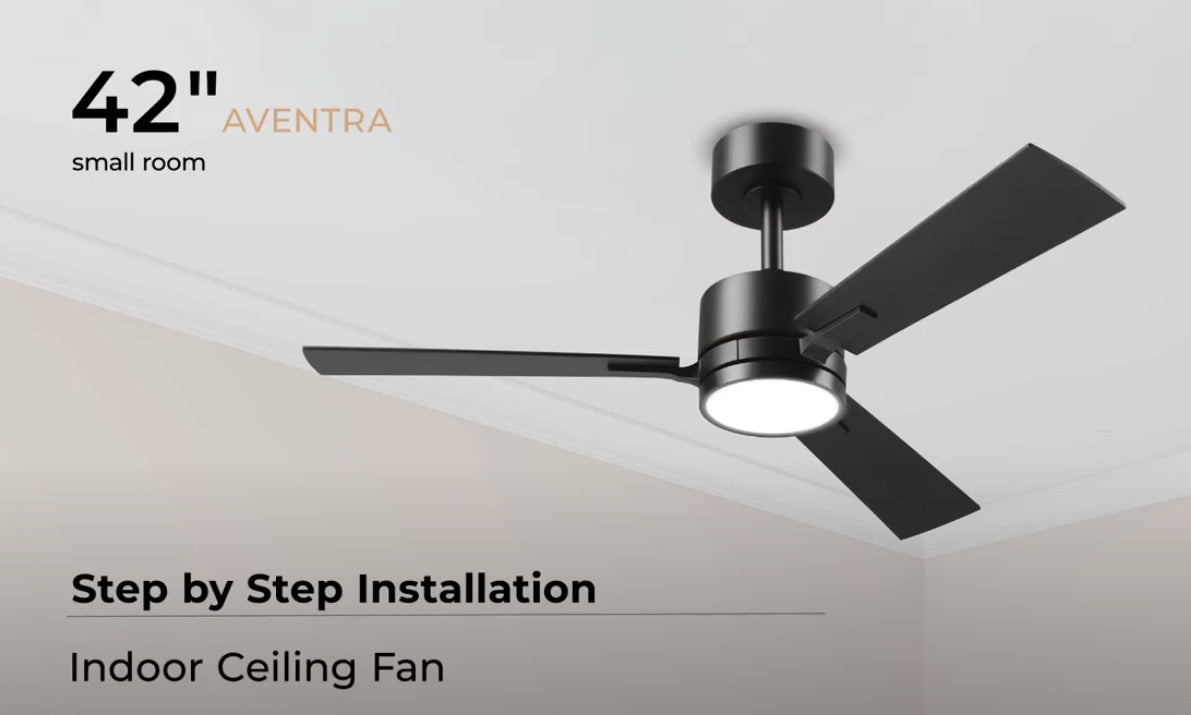
42" Indoor Ceiling Fan (Aventra) | Step by Step Installation
WHAT'S IN THE BOX
- The mounting bracket
- Assembled downrod
- Canopy
- Fan motor housing
- LED Light kit
- Canopy ring
- Decorative cover
- 3 Blade arms
- 3 fan Blades
- Remote control
- Receiver kit
- Mounting Accessories
- and your instructions sheet.
INSTALLATION
To install your ceiling fan you will need a Phillips head screwdriver.
With your desired finish facing down, attach the fan blade to the the blade arm, using the included blade arm washers and screws.
Repeat the process for the remaining blades.
With your desired finish facing up, install the first blade between the 2 arrows on the motor housing.
Then, secure the blade using the included fan blade screws. Tighten well to ensure the fan has no wobble.
Rotate the fan and repeat the process for the remaining blade arms.
Connect the LED light kit wire to the motor housing wire.
Then, align the light kit to the motor housing and rotate clockwise to tightly secure.
Once complete, turn the fan over.
Disassemble the downrod. Remove the locking pin from the downrod, then remove the two hanger ball screws.
Slide the hanger ball off the downrod and remove the cross pin.
On the motor housing, loosen the two base screws to allow the downrod placement.
Next, carefully feed the wiring through the down rod. Once through, place the down rod into the fan motor housing and align the holes accordingly.
Secure by reinstalling the locking pin.
Then, tighten the screws until you feel resistance.
Next, slide the decorative cover onto the downrod, then add the canopy cover ring. Ensure it is facing upwards.
Finally, add the canopy.
Next, slide the hanger ball back onto the downrod, and reinsert the cross pin into the large hole.
Raise the hanger ball and nest the cross bar in it's groove, ensuring all screw holes align accordingly.
Re-install the 2 screws, and tighten well to ensure the hanger ball is properly secured.
Your fan is now ready to be mounted.
From the electrical panel, turn off the power and consult a qualified electrician as needed.
Using your junction box's preexisting screws, secure the included mounting bracket to your ceiling's junction box.
Then, loosen the mounting bracket's canopy screws.
Lift the assembled fan to the ceiling and place the hanger ball into the mounting bracket opening.
Rotate the fan as needed to ensure the groove on the hanger ball drops into the slot on the bracket and sits firmly.
Slide the receiver into the mounting bracket.
Then, connect the 2 cables from the motor housing to the receiver.
The first to it’s matching coloured cable, and the second directly into the receiver.
Then, connect the k-1 wire to the receiver.
Next, insert the hot black wire from the junction box into the quick connect clip on the black K-1 wire.
And insert the neutral white wire from the junction box into the quick connect clip on the white K-1 Wire.
Finally, connect the junction box’s ground wire and all ground wires from the fan together, using the wire nut.
Next, lift the canopy.
Align the keyholes to the mounting screws and rotate clockwise to lock into place.
Tighten the screws to secure.
Then, raise the magnetic canopy ring, to connect it to the canopy.
Install the remote's back plate to the wall using the included screws, then mount the remote to the magnetic plate.
Once installed, turn the power back on from the electrical panel.
Turn the switch On.
You can now control your ceiling fan from anywhere in the room, using the wireless remote.
REMOTE CONTROL
- To turn both the fan and light ON and OFF simultaneously, press the Globe logo button at the top of your wireless remote.
- To only turn the fan on or off, press the fan button in the middle of your remote.
- Once ON, you can control the fan’s speed by pressing the numbered buttons.
- For directional control, press the relevant arrow buttons.
- To push cool air down, press the button with the 3 arrows down graphic on the left.
- To circulate warm air, press the button with the 3 arrows up graphic on the right.
- To individually turn the Fan’s light on or off, press the Bulb button located in the lower half of the remote.
- Once on, you can increase or decrease the lights brightness using the up and down arrow buttons.
- Use the two up and down sun buttons to cycle through the six available white lighting options.
- Select the light you need, whenever you need it, with Globe’s AmbianceSelect™.